Showing posts with label WishBlade. Show all posts

Tuesday, December 20, 2011

Christmas Tag Card - Take 3

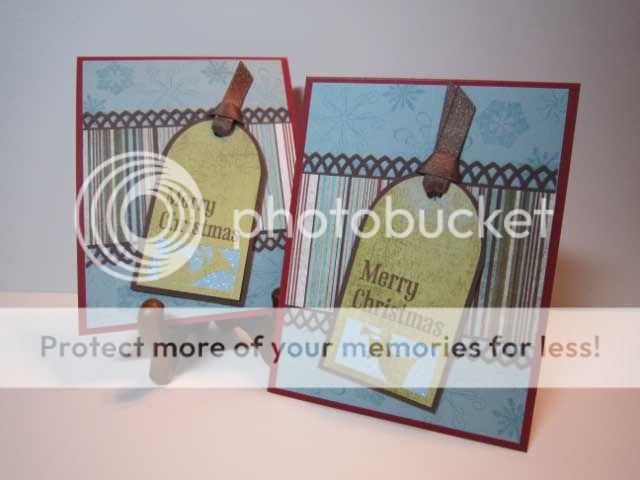
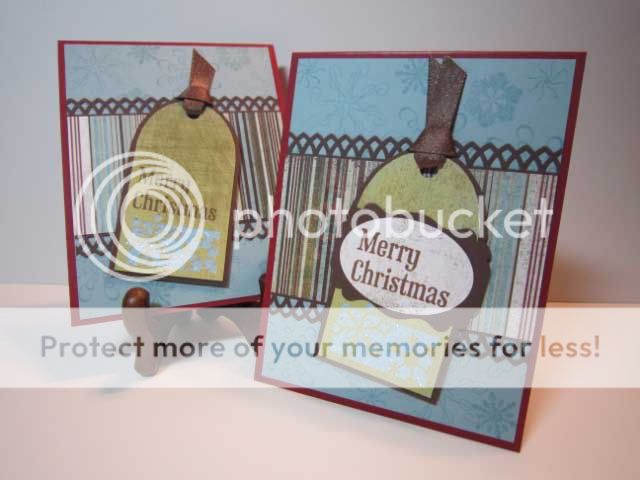
Here's another variation of the tag card I posted earlier.  Hope you're not bored by these.   I did have to pick some cards that I could make fairly easily and make multiples without getting bored.   We sent out over 90 Christmas cards this year....   Making the cards in batches and repeating a design I like is the key to be able to get 90+ hand made cards done.  Last year I made multiples of the same card and waited until late in the year to make the cards.   Lesson learned.   This year's card making endeavors were a lot more fun since I worked on a larger variety of cards.  Plus, I worked on some of these earlier during the year.   

So the design does vary some from the previous versions.  I used different papers, a different border punch, and different stamps on the background paper.   I grabbed snow flakes from two different Basic Grey acrylic stamp sets.   The greeting is from a Hero Arts background stamp that I cut apart and am using the greetings individually.   

I almost forgot to mention the most interesting technique on this card.   It's that little bit of shimmer behind the cut out on the tag.   I cut the tag with my Wishblade using a free ttf dingbat font.  I then ran a scrap of cardstock through the Xyron and adhered it, with the adhesive side up onto the card.   Coat the exposed adhesive with glitter and voila.


Supplies: 


Ink: Stampin' Up, Colorbox Liquid Chalk

Paper: Basic Grey, Misc cardstock

Tools: WishBlade, Hole punch, Martha Stewart Border Punch, EK Success (label punch), Stampin' Up (large circle)

Accessories: Glitter, Ribbon
Misc.: Xyron

Sunday, December 18, 2011

Basic Grey Holiday Tag Card - Take 2

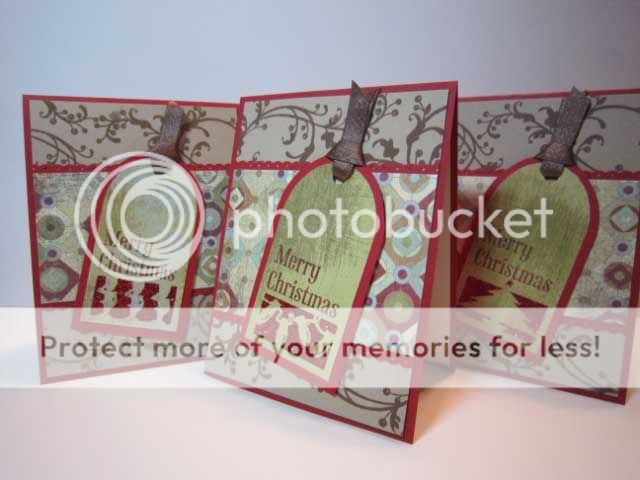
More Tag Cards.  I really enjoyed the tag cuts and it made for a simple and flexible card design that still had a lot of oomph.  The tags were cut from Basic Grey paper with my WishBlade.   I took a scrap of paper and ran it through the Xyron and placed it behind the cut out area, then applied glitter.   I used Basic Grey stamps on the brown background and some Basic Grey printed paper for the band in the middle.   

The greeting is cut from a Hero Arts background stamp that is a medley of greetings. I cut all of those greetings apart and am using them individually.  


Supplies: 
Stamps: Hero Arts (Background stamp cut into individual greetings), Baskic Grey acrylic stamps
Ink: Colorbox Liquid Chalk
Paper: Basic Grey, Misc cardstock
Tools: WishBlade, Hole punch, EK Success Border Punch
Accessories: Glitter, Ribbon

Monday, December 12, 2011

Tripple Tag Card


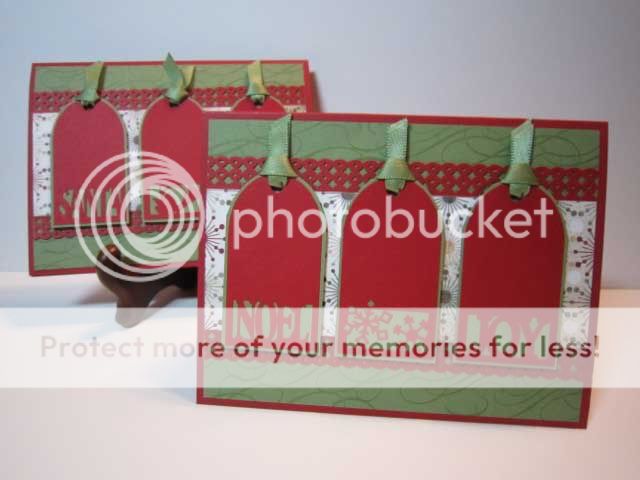
These little tags were cut with my WishBlade ages ago.  I had the tucked away in a binder with various bits that I pulled out this year and put to use.   I hand cut the shadow frames on the tags.  The green background paper is stamped tone on tone with some swirls.  The border is made with an EKSucess punch and the printed paper is Basic Grey.   

Supplies: 
Paper: Basic Grey, Misc Cardstock
Stamps: Basic Grey
Ink: Stampin Up Classic Ink
Tools: EK Success border punch, Hole punch, WishBlade (electronic cutter)
Accessories: Misc Ribbon

Thursday, December 8, 2011

Happy Holly Tag Christmas Card


Supplies:
Stamps: Acrylic stamps, I believe they're Inkadinkadoo - for the greeting and the holly tone on tone green background
Paper: Basic Grey, Misc cardstock
Toos: Wishblade cutter, Martha Stewart border punch
Accessories: Misc Ribbon, glitter, 
Misc: Dimensionals, Xyron adhesive

Technique:  
Ages ago, I cut these tags using my blue Wishblade.  The image came from a free ttf font.   I love how intricate the tags came out.   To add glitter, I ran a small piece of cardstock through the Xyron and adhered it to the back of the cut out in the tag.  I then adhered glitter to the exposed Xyron adhesive.  It holds up great.   The red shadow layer is hand cut.  
Related Posts Plugin for WordPress, Blogger...