
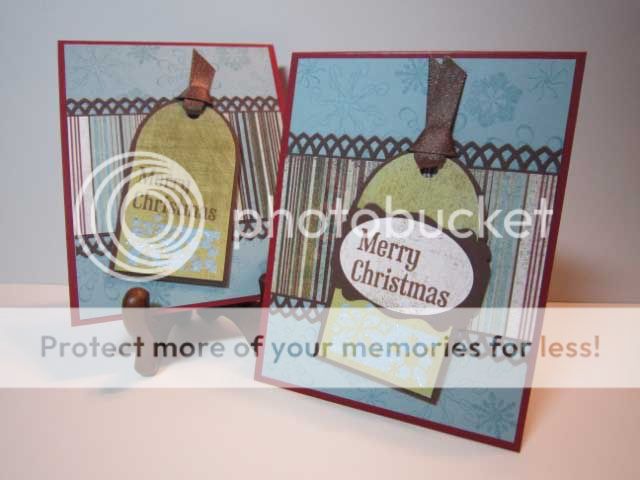
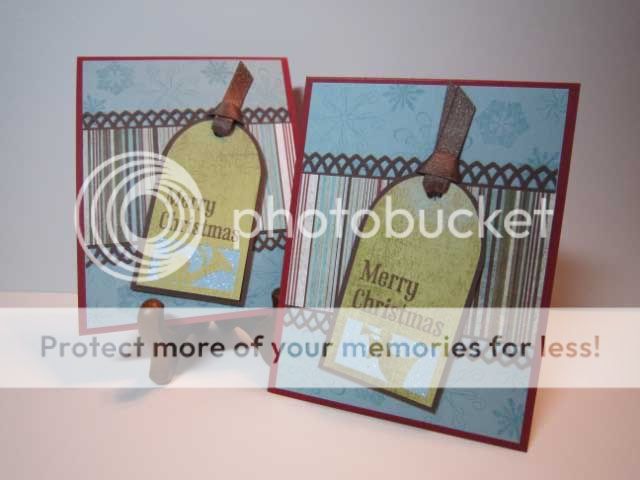
Here's another variation of the tag card I posted earlier. Hope you're not bored by these. I did have to pick some cards that I could make fairly easily and make multiples without getting bored. We sent out over 90 Christmas cards this year.... Making the cards in batches and repeating a design I like is the key to be able to get 90+ hand made cards done. Last year I made multiples of the same card and waited until late in the year to make the cards. Lesson learned. This year's card making endeavors were a lot more fun since I worked on a larger variety of cards. Plus, I worked on some of these earlier during the year.
So the design does vary some from the previous versions. I used different papers, a different border punch, and different stamps on the background paper. I grabbed snow flakes from two different Basic Grey acrylic stamp sets. The greeting is from a Hero Arts background stamp that I cut apart and am using the greetings individually.
I almost forgot to mention the most interesting technique on this card. It's that little bit of shimmer behind the cut out on the tag. I cut the tag with my Wishblade using a free ttf dingbat font. I then ran a scrap of cardstock through the Xyron and adhered it, with the adhesive side up onto the card. Coat the exposed adhesive with glitter and voila.
Supplies:
Stamps: Hero Arts (Background stamp cut into individual greetings), Basic Grey acrylic stamps
Ink: Stampin' Up, Colorbox Liquid Chalk
Paper: Basic Grey, Misc cardstock
Tools: WishBlade, Hole punch, Martha Stewart Border Punch, EK Success (label punch), Stampin' Up (large circle)
Accessories: Glitter, Ribbon
Misc.: Xyron
No comments:
Post a Comment