
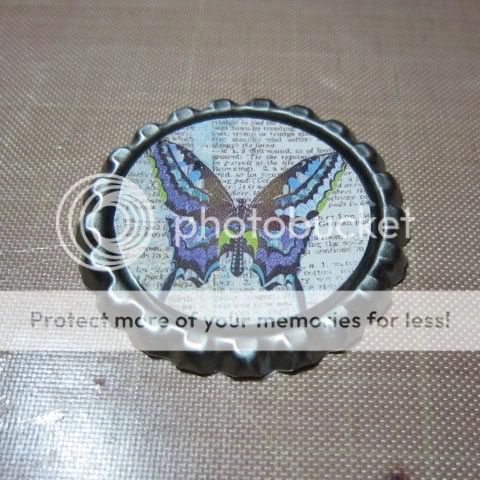
I saw this idea on the web a few months back and asked my hubby to pick up some bottle caps next time he went to the brew supply store. He went tonight and he didn't forget about my request. He came home with a bag full of clean bottlecaps. Here's what the kids and I made.... They're accents that we can use to make cards, scrapbook pages, necklace charms or just about anything that strikes our fancy.
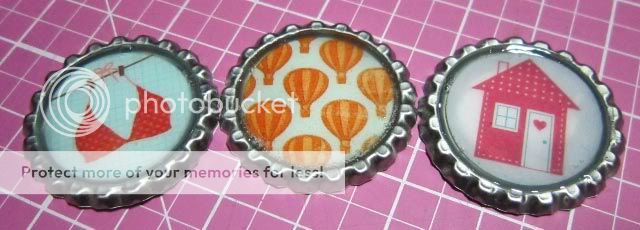
I chose the little house (paper by Stampin' Up - 6x6 Welcome Neighbor DSP from an Occasions Mini, I think two years ago). Spencer's is the orange hot air balloons (paper by My Mind's Eye - Lime Twist 6x6 pad). His favorite color is orange. Angeline... well, we have issues to work through. She got a chuckle out of picking the bra (um bikini top) (paperr from Jillibean Soup - Watermelon Gazpacho 6x6 pad).
After making those three gems, I couldn't resist and wanted to make a couple more. And since I was at it, I took some pictures so I could share with my online friends as to how to make these. Mind you, these could get pricy if you buy them in the scrapbook store. However if, you pick them up at a brew supply store or hardware store, a bag of a 100 of these is just a couple of bucks. Now I understand that you can't just use a bottle cap off of the beer you enjoyed with dinner. The steel on those is much too hard and they won't compress as easily as the ones from the hardware store or brew supply store.
Step 1: Use your Sizzix or Cuttlebug to smoosh the bottle caps.
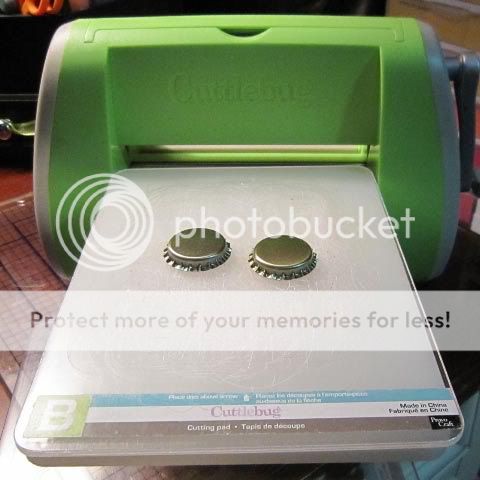
I used the big white A plate spacer and my two B plates. That's the same set of plates that you use for a standard Sizzlet or Cuttlebug die.
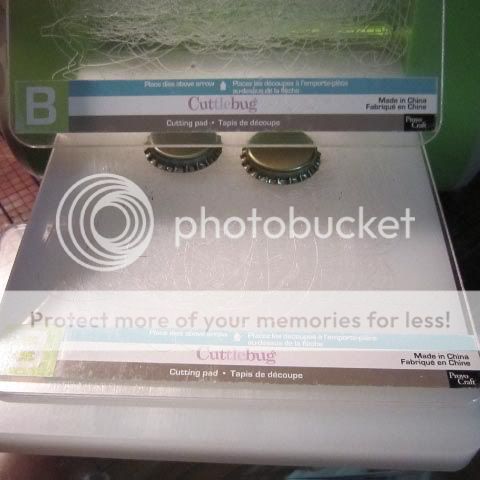
I sandwich the bottle caps in between the B plates on top of the A plae spacer. Run the sand through the machine and you get some great flattened bottle caps.

Step 2: Peel the plastic gasket from the inside of the bottle cap. I use my bone folder to help grab a hold of the rubber and it comes out quite easily. Don't worry too much about cleaning any goop out of the bottle cap. You're going to cover that with something pretty anyway.

Step 3: Select a printed paper or photograph and punch a 1 inch circle. I used my Creative Memories Shape Maker.

Sept 4: Adhere the punched out circle to the inside of of the smooshed bottle cap.
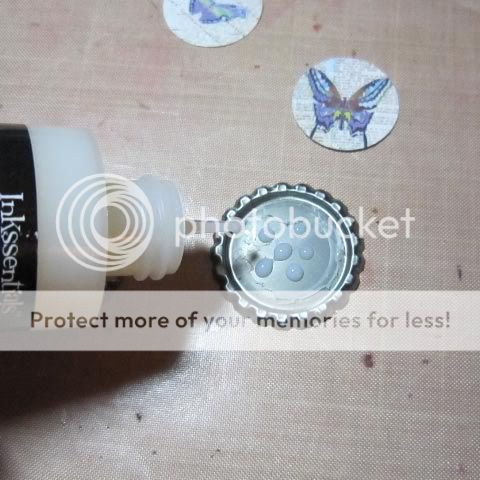
Just add a few drops of Glossy Accents by Ranger ( or Crystal Effects by SU, or Liquid Glass by CTMH, or similar product) and adhere the punched out designer scrapbook paper to the center of the cap.
Step 5: Apply the Glossy Accents liquid using the needle nose applicator on the product.
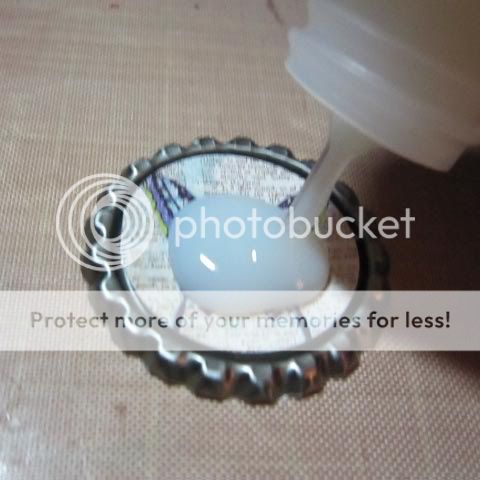
Using that needle nose, work the Glossy Accent into all of the crevices of the bottle cap, removing any air bubbles and pushing down the paper in the process.

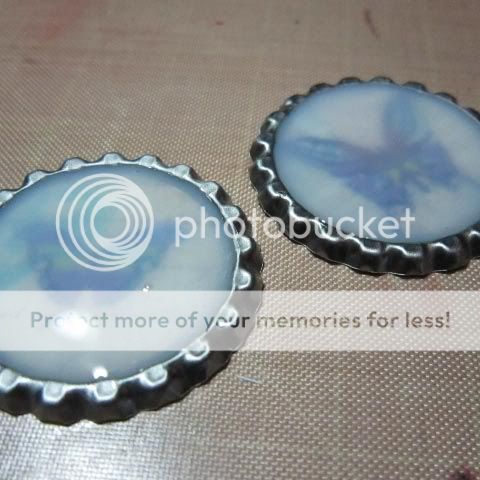
Let sit and dry. The liquid will dry clear. For an antiqued finish, there are some liquid accent products on the market that will dry with a slight antiqued tint.
I hope you enjoy making your own smooshed bottle caps. It's fun for adult and junior crafters. Both of my kids loved making these earlier this evening. I'm sure we'll be making more. In fact, my son has a birthday coming up. These'll make great accents for the thank you cards he'll be sending out to any party attendees. :-)
And after these butterflies dry, I'll have to make some cards and post those too.
Supplies:
Bottle caps from brew supply store or hardware store.
Cuttlebug, Sizzix big shot or other die cutting machine that can cut Sizzlette or Cuttlebug size dies.
1" circle hole punch
Designer scrapbook paper or pictures. I used a 6x6 print from Memorybox's Minuet collection.
Glossy Accents by Ranger ( or Crystal Effects by SU, or Liquid Glass by CTMH, or similar product)
Great tutorial. I may try these out. They would be great as magnets on the fridge to hold up my son's artwork.
ReplyDeleteThank you for the great tutorial. I'm going to see if I can find someplace that sells those bottle caps.
ReplyDeleteHey, these would make great magnets. Cool idea!!! I know someone with an ample supply of crystal effects.
ReplyDeleteI found that using the epoxy domes to make these was even easier - especially if working with a group of kids, and no need to wait for it to dry. You can find the kits with caps (already flettened) and epoxy domes on ebay and etsy (I don't sell them so this is not an advertizment), some even with the jump rings installed for key chains.
ReplyDeletehttp://www.ebay.com/itm/New-Red-Crown-Bottle-Caps-And-1-Epoxy-Stickers-50-/370578105618?pt=LH_DefaultDomain_0&hash=item56482d2512 or
http://www.etsy.com/listing/62622701/50-flattened-linerless-bottle-caps-and?ref=sc_2&sref=sr_5f6c7b3374035f76f216098d94d3b36c65130198b0e70b48aa82badcd5c6b65c_1327871746_14188042_epoxy
But is it as much fun as using supplies from the brew store. For $3 you can pick up a gross of bottle caps. http://monsterbrew.com/Prod_Caps-GoldCrown.cfm Can't get much cheaper than that. And the bragging rights. LOL
DeleteThankyou for your ideas I have a sizzix big shot so I will have a go. My friend was doing them years ago but never knew how she did them.
ReplyDeleteSorry Monika I forgot to tell you I' Maree from previous post.
ReplyDeleteI love this idea. thanks so much for taking the time to share. I like my scrapbooking pages to have as much hand made original embellishments as possible. looking forward to seeing more of your work.
ReplyDeleteLooks like a good idea, do the bottle tops damage your cutting plates
ReplyDeleteYou could also get a plain name badge reel and glue the bottle top to them and sell them. I’m a nurse and we love cut badge holders.
ReplyDeleteI make all my art & jewelry from recycled materials and I thought this would make a great way to flatten used caps. Unfortunately that was not the case. In these it did not flattened the caps uniformly. I applaud the use on the caps used from the brew store but for me it was a no-go. (sigh)
ReplyDeleteUse a rubber mallet and a hard surface if you have a self-healing mat that work really well unstable service. Enjoy!
DeleteI like the idea with the bottle top but will it harm my machine?. I might try going to my workshop and use a hammer and a block of wood.��
ReplyDeleteI wouldn’t try it... it seems like it could damage your plates. ��
ReplyDeleteOr use old plates that are very well used ... 👍
ReplyDelete